In this article, I will discuss the How to Bridge Ethereum to Optimism, an Ethereum scaling solution that promises faster transactions for lower fees.
By the end, you will understand the process of moving ETH from the Ethereum mainnet to Optimism in a secure manner using lower cost options, and how to mitigate risks while taking advantage of the benefits of this type of bridging.
What is Bridge?
A bridge in cryptocurrency is a form of protocol that permits users to send assets to other blockchain networks. Bridges connect Layer 1 blockchains such as Ethereum with Layer 2 solutions like Optimism or independent chains, thereby enabling interoperability.

Bridges lock assets on one network and through smart contracts, mint an equivalent token on a different network. Those using bridges may benefit from lower fees, new dApps, faster transactions, and security like never before.
Regardless of this phenomenon, bridges can carry risks like virtually unlimited transaction delays due to smart contract failures and vulnerabilities.
How to Bridge Ethereum to Optimism
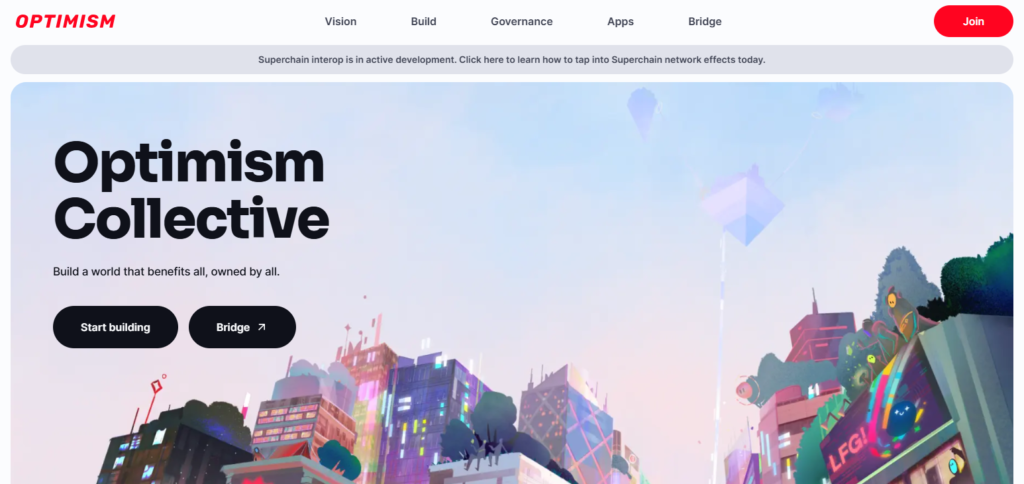
The Official Optimism Bridge lets users transfer assets such as ETH and ERC-20 tokens ( including USDC) from Ethereum Mainnet (Layer 1) to Optimism (Layer 2) in a secure manner. This process is open to all, permissionless, has a deposit time of 1-3 minutes, and is secured by Ethereum. Below is the exact process.
Prerequisites
Ethereum-friendly wallet: MetaMask must be installed and funded with ETH (for gas fees and the amount to bridge).
Optimism Network Added (if not auto-added): Add the Optimism network to your wallet:
Network Name: Optimism
RPC URL: https://mainnet.optimism.io
Chain ID: 10
Currency Symbol: ETH
Block Explorer: https://optimistic.etherscan.io
Funds: Having enough ETH on Ethereum Mainnet to pay gas fees (usually between $5-$20 depending on network congestion) is essential.
Step-by-Step Process
Visit the Official Optimism Bridge
Open your web browser and navigate to gateway.optimism.io.

Double check you are on the legitimate site to avoid phishing scams (check the URL and SSL certificate).
Connect Your Wallet

Click the top right corner to Connect Wallet.
Click MetaMask or another preferred wallet.
Confirm the connection prompt from your wallet.
Ensure your wallet is set to Ethereum Mainnet (not Optimism yet).
Set the Deposit Direction
You should find “Deposit” (depicting L1→L2) and “Withdraw” (depicting L2→L1) as two separate sections on the interface. Make sure that “Deposit” is selected (it is the default view). The screenshot displays Ethereum (L1) as the source and Optimism (L2) as the destination.
Choose Your token and Input Amount
Choose the token to bridge in the “Asset” dropdown, for example, ETH or USDC. Only supported tokens will be listed (ETH and standard ERC-20s). In the input field, type in the amount you wish to transfer, for example, 0.1 ETH. The user interface shows the balances in your wallet, alongside estimated gas fees, which are paid in ETH on the Ethereum Mainnet.
Approve the Transaction (For ERC-20 Tokens Only)
Skipping to Step 6 is permitted if bridging ETH. After selecting ERC-20 tokens (let’s say USDC), click “Approve” to permit the bridge contract access to your tokens. Make sure to confirm the approval transaction in MetaMask, as there is a gas fee associated with it. Wait for the transaction to process (viewable on etherscan.io).
Initiate the Deposit
Click on “Deposit” or “Bridge Now” if you have already approved for ERC-20s. Then, verify the transaction details: amount, destination (Optimism), and gas fees. Confirm the transaction in MetaMask. The bridge mints the equivalent tokens on Optimism and locks your tokens on Ethereum.
Completion in Progress
Depending on the congestion of the Ethereum network, the deposit usually takes between 1-3 minutes.
You can either watch the status change on the gateway interface, or you can track it using the transaction hash provided on etherscan.io.
The funds are immediately available on Optimism once they are relayed.
Modifying a Network in MetaMask
In Metamask, switch the network to Optimism using the settings added previously. Check that your bridged funds show up in your Optimism wallet, for example, 0.1 ETH or 0.1 USDC.
Why Bridge Ethereum to Optimism?
Reduced Transaction Costs
Compared to the Ethereum mainnet, gas fees on Optimism’s Layer 2 network are much lower.
Quicker Transactions
Ideal processing times for DeFi and dApp interaction.
Use of Optimism-Exclusive dApps
Opportunity to use dApps and protocols on Optimism.
Layer 2 Scaling Network Security
Utilizing a more scalable network while benefitting from Ethereum’s security.
Bettter User Experience
More efficient and cheaper on-chain operations.
Tips for a Smooth Bridging Experience
Select Off-Peak Hours: Bridge during times when network activity is low to lower gas fees.
Check ETH Wallet for Fees: Make sure that you have enough ETH to pay for both the bridging and gas fees.
Use Trusted and Official Bridges: Only use the official Optimism Bridge and reputable third party bridges.
Confirm Network Settings: Make sure you are on the right networks (Ethereum → Optimism).
Surrender your patience: Bridging may take a few minutes; do not repeat transaction resubmission.
Risk & Considerations

Gas Fees
During congestion periods, gas fees can get pretty high, and bridging will require gas fees.
Smart Contract Risks
Third party bridges can gather some smart contract risks.
Transaction Delays
Congested networks can also mean longer bridging duration, anywhere from 4 to 5 minutes.
Phishing & Scams
Always approach bridge sites with suspicion. Use the official bridge to migrate to Optimism only.
Limited Withdrawal Speed
It takes time to withdraw from Optimism to Ethereum, nearly a week from the time spent due to forcing challenge periods.
Features
Swift Transactions
Optimism completes transactions quicker than the Ethereum mainnet.
Lower Gas Fees
Reduced transaction costs through Layer 2 scaling.
Interoperability
ETH and ERC-20 tokens can be moved from Ethereum to Optimism and back with ease.
Ethereum Level Security
Uses Ethereum security for operations on Layer 2.
dApp Access
Use DeFi dApps, NFT marketplaces, and dApps unique to Optimism.
Transaction Monitoring
Transactions can be checked on Etherscan and Optimistic Etherscan.
Pros & Cons
| Pros | Cons |
|---|---|
| Lower Transaction Fees: Optimism offers significantly reduced gas fees compared to Ethereum. | Withdrawal Delays: Bridging back to Ethereum can take several days due to Optimism’s challenge period. |
| Faster Transactions: Optimism’s Layer 2 solution speeds up transaction processing. | Bridge Fees: You may still encounter bridge service fees when transferring assets. |
| Access to Optimism dApps: Unlocks access to Optimism-exclusive DeFi platforms and applications. | Limited Token Support: Not all Ethereum tokens are supported on Optimism. |
| Scalability: Optimism handles more transactions per second, reducing network congestion. | Smart Contract Risks: Potential vulnerabilities in bridging contracts could pose security risks. |
Conclusion
To sum up, transferring Ethereum to Optimism allows users access to fees that are cheaper, transactions that are quicker, and dApps exclusive to Optimism.
With the guide’s detailed instructions, anyone can shift their ETH to Optimism and have a better in-chain experience.
Don’t forget to always use reputable bridges, check the networks, and remember to have sufficient ETH. Lastly, due to its ability to scale and low price point, Optimism is great for DeFi, NFT trading, and any other Ethereum-centered activities.


