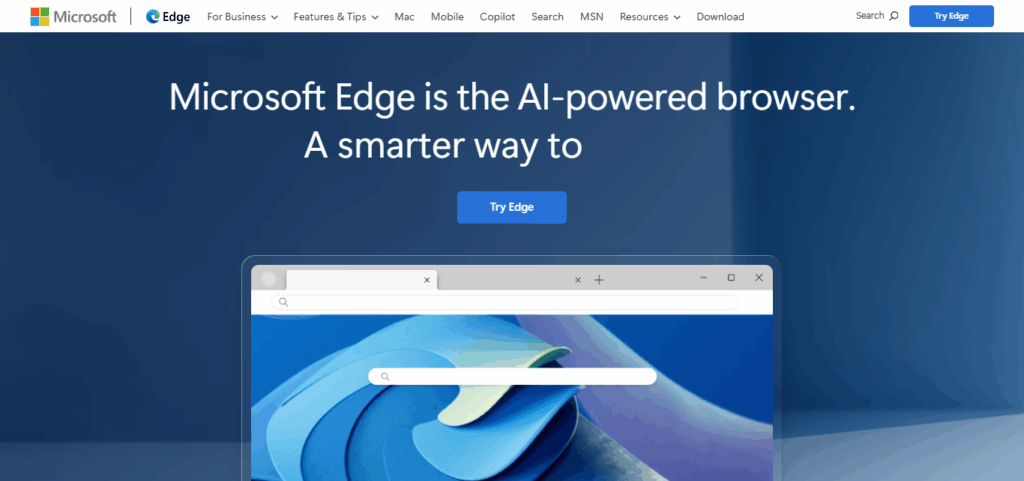
In this post, Ill show you how to turn on Tracking Prevention in Microsoft Edge. Its a built-in tool that stops sneaky third-party trackers from scooping up your personal info.
If targeted ads bug you or you just want more privacy online, switching on this feature takes only a moment and makes your web trips much safer.
What Is Tracking Prevention?
Microsoft Edges tracking prevention blocks most snooping trackers, stopping them from grabbing your browsing habits. Advertisers and other third parties use these trackers to follow every click, stitch together a profile, and serve personalized ads.
The feature cuts off chatter between your browser and known tracking sites-especially those you never opened directly-thus keeping your data quieter.

Because fewer scripts load, you see fewer intrusive ads and pages often appear on screen a bit faster. Edge lets you pick one of three levels-Basic, Balanced, or Strict-so you can trade some convenience for extra privacy when it suits you.
How To Enable Tracking Prevention In Edge
Open Microsoft Edge
Double-click the Edge icon on your desktop or tap it from the Start menu to start the browser.
Access the Menu
Click the three-dot button ( . . . ) in the top-right corner of the window to reveal the menu.
Go to Settings
From the menu that drops down, choose Settings near the bottom.
Choose Privacy, Search, and Services
Look in the left-hand panel and select Privacy, search, and services to see privacy controls.
Enable Tracking Prevention
Find the section labeled Tracking prevention and flip the switch to turn it on.
Select a Level of Protection
Pick one option that fits your needs:
- Basic – lets friendly ads through, blocks only obvious threats.
- Balanced – blocks trackers from sites you never opened that most people use.
- Strict – shuts out almost everything, but some pages might break.
How It Works in Microsoft Edge
Microsoft Edge has a built-in system that stops many trackers from spying on where you go online. It keeps a list, updated by Microsoft, of domains tied to ads, analytics, and social-media sharing.
Every time you load a page, Edge checks which scripts and cookies want to run. Depending on the protection level youve chosen-lineBasic, Balanced, or Strict–Edge either blocks or lets each tracker through.
- Balanced stops trackers from sites you havent visited yet.
- Strict shuts down nearly every known tracker.
- Allowed trackers let features like logins and videos keep working.
The result is stronger privacy without slowing down the web too much.
Tips for Best Privacy Practices in Edge

Recommended Setting (Balanced or Strict)
Choose Balanced for solid privacy that barely slows you down, or switch to Strict when you want tougher protection.
Using InPrivate Browsing with Tracking Prevention
Launch an InPrivate window. It wipes history after closing and paired with tracking prevention, blocks most ads and snoopers today.
Periodically Reviewing Privacy Settings
Check Edge settings every month. Update tracking permissions, site access, and saved passwords to match any new plans or apps.
Conclusion
In short, turning on tracking prevention in Microsoft Edge is an easy move that sharply improves your online privacy. You can pick Basic, Balanced, or Strict and decide exactly how much personal info sites get.
Pair that with InPrivate browsing and routine privacy checks, and Edge hands you solid tools for safer surfing and less annoying ads.
FAQ
Which tracking prevention level should I use?
Balanced is recommended for most users as it blocks trackers from unfamiliar sites without breaking site functionality. Strict offers stronger privacy.
Can I allow trackers for specific sites?
Yes. Scroll to the Exceptions section in the tracking prevention settings, and add any trusted sites where you want to allow trackers.
How can I see which trackers are being blocked?
Click the lock or info icon next to a site’s URL, then click Trackers to view what’s being blocked.


